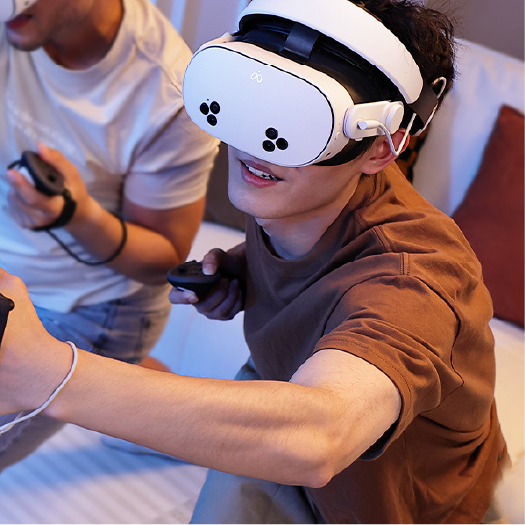
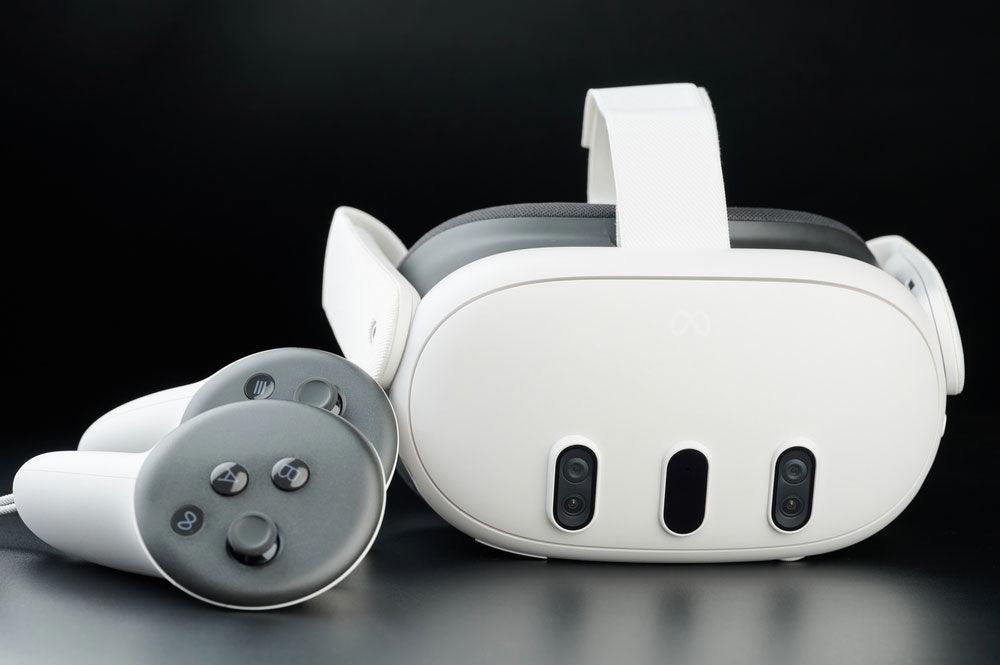
Experience the immersive world of PC gaming like never before by learning how to play Steam games on Meta Quest 3. Imagine getting into your favorite games with the power of virtual reality, bringing every detail to life. The Meta Quest 3 offers a seamless way to bridge the gap between the expansive library of Steam games and the cutting-edge technology of VR. This guide will walk you through each step, ensuring that your gaming experience on the Meta Quest 3 is both enjoyable and easy to set up.
Ensure Your PC Meets the Requirements for SteamVR Compatibility
Before you begin, it’s crucial to make sure your PC is powerful enough to run SteamVR smoothly. A compatible computer with a capable graphics card, enough memory, and a strong processor is the foundation of a good VR setup. SteamVR is demanding, so verifying that your system meets at least the recommended specifications will save you frustration later and ensure the best experience.
Minimum System Requirements (SteamVR Official)
- OS: Windows 10 or later (Steam no longer supports Windows 7/8.1)
- Processor: Intel Core i5-4590 / AMD FX 8350 equivalent or better
- Memory: 4 GB RAM minimum
- Graphics: NVIDIA GTX 970 / AMD Radeon R9 290 (4 GB VRAM)
- Ports: USB 2.0, plus HDMI 1.4 or DisplayPort 1.2
Recommended System Requirements
- Graphics: NVIDIA GTX 1060 / AMD RX 480 or newer
- Processor: Quad-core Intel i5 / AMD Ryzen or better
- Memory: 8–12 GB RAM or more
- Ports: DisplayPort (preferred for high refresh rates) and USB 3.0
Headset-Specific Considerations
Different VR headsets can raise the bar further. For example:
- Valve Index: Best with GTX 1070 or higher, 8+ GB RAM, and DisplayPort + USB 3.0 support.
- HTC Vive Pro 2: Designed for ultra-high resolution (4896 × 2448), ideally paired with RTX 2060 / RX 5700 and above, plus 8–12 GB RAM.
- PS VR2 with PC adapter: Requires at least Intel i5-7600, GTX 1650, 8 GB RAM, and DisplayPort 1.4.
Practical Tips
- VRAM and RAM matter: While 4 GB VRAM and 4 GB RAM are listed as minimums, aiming for 6 GB VRAM and 8–12 GB RAM will make a noticeable difference in quality and stability.
- Lower settings if needed: If your GPU is on the low end (e.g., GTX 970 or RX 580), you can still run VR by lowering rendering resolution, though visuals may look softer.
- Check with official tools: Steam provides compatibility checks (such as “Are You Ready for Valve Index?”) to quickly test your system.
- Ports are essential: Many high-end headsets prefer DisplayPort over HDMI, and multiple USB 3.0 ports may be required for sensors and cameras.
A well-prepared PC not only meets the baseline for SteamVR but also ensures that demanding titles, advanced headsets, and future VR updates run without issues. Investing in the right setup means clearer visuals, smoother gameplay, and a far more enjoyable VR experience.
Download and Install the SteamVR Software on Your PC
Start by downloading the SteamVR software from the Steam store. It's essential to have this software installed on your computer to enable VR gaming on your Meta Quest 3. SteamVR acts as the platform that connects your PC games with your VR headset. The installation process is straightforward, and once it's complete, you’ll be ready to configure your setup. This software is vital for accessing and running your favorite Steam games in virtual reality.
Power On Your Meta Quest 3 and Enable Developer Mode
Next, power on your Meta Quest 3 and navigate to the Settings menu to enable Developer Mode. This mode is required to link your headset with your PC for SteamVR gaming. Developer Mode unlocks advanced functionality on your headset, such as running custom apps, testing features not yet available on the Meta Store, and using developer tools.
Steps to Enable Developer Mode
- Open the Meta Quest mobile app on your iOS or Android device and sign in with the same Meta account linked to your headset.
- Make sure your Quest 3 is powered on and paired with the mobile app.
- In the app, go to Menu > Devices, then select your connected Quest 3.
- Tap Developer Mode and toggle the switch to enable it.
- If prompted, log in to your Meta developer account (you can create one for free at Meta for Developers).
- Restart your headset to apply the change.
Why Developer Mode Matters
- PC VR access: Enables your Quest 3 to connect with a gaming PC and run SteamVR content.
- Advanced testing: Allows you to sideload apps and try software still in development.
- Customization: Provides deeper control for developers and enthusiasts who want to fine-tune their VR experience.
Once Developer Mode is enabled and your headset has restarted, your Quest 3 is fully prepared for linking with your PC. This step lays the groundwork for installing additional tools such as the Oculus PC app and SteamVR, ensuring your setup is ready for high-performance VR gaming.
Connect Meta Quest 3 to Your PC Using a USB-C Cable
To establish a connection between your Meta Quest 3 and your PC, use a USB-C cable. This wired connection ensures a stable and high-speed data transfer, which is essential for a smooth VR experience. The cable not only powers the headset but also transmits the necessary data to render Steam games in VR. A quality USB-C cable is a critical component in maintaining the seamless performance of your VR setup.
Launch the Oculus Link App on Your Meta Quest 3
With your Meta Quest 3 connected to your PC, launch the Oculus Link app on your headset. This app acts as the bridge between your PC and the Meta Quest 3, allowing you to access your PC’s capabilities within the VR environment. Oculus Link is designed to provide a direct connection to your PC, enabling you to navigate your Steam library and select games to play. The interface is user-friendly, making it easy to start your VR gaming experience.
Open SteamVR on Your PC and Pair with Quest 3
After setting up Oculus Link, open SteamVR on your PC. SteamVR will recognize your connected Meta Quest 3, allowing you to pair the devices. This pairing is essential for syncing your headset with the SteamVR software. Once paired, your Meta Quest 3 will function as a VR display for your Steam games, giving you access to a wide range of titles. The pairing process is straightforward, with prompts guiding you through each step.
Select and Launch Your Desired Steam Game from SteamVR
Now that your Meta Quest 3 is connected and paired with SteamVR, you can select and launch your desired game from your Steam library. The interface within SteamVR allows you to browse through your games and choose the one you wish to play. Once selected, the game will launch in VR mode, providing a fully immersive experience. The Meta Quest 3 brings these games to life, allowing you to enjoy them in a way that’s not possible on a standard screen.
Adjust Settings for Optimal Performance and Enjoy Your Game
Before fully immersing yourself in the game, it’s important to adjust the settings for optimal performance. These adjustments include resolution, frame rate, and comfort settings to suit your preferences and your PC’s capabilities. Tweaking these settings ensures that your gaming experience is smooth, visually impressive, and comfortable for extended play sessions. Once set, you can dive into your game and enjoy the seamless integration of Steam games on your Meta Quest 3.
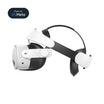
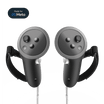
Unlock the Full Potential of Quest 3 with VR Enhancement Tools at Kiwi Design
Maximize your VR gaming experience by exploring the full range of Quest 3 accessories designed to enhance every moment of your gameplay. With our VR enhancement tools, you can customize and elevate your setup, ensuring that each session is as immersive and comfortable as possible. At Kiwi Design, we specialize in creating innovative VR accessories that integrate seamlessly with the Meta platform, offering the highest quality to meet the needs of VR enthusiasts and gamers worldwide. Discover the possibilities with Kiwi Design and take your VR experience to the next level.







Leave a comment
All comments are moderated before being published.
This site is protected by hCaptcha and the hCaptcha Privacy Policy and Terms of Service apply.