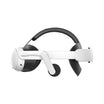
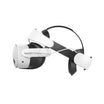
In this tutorial, we are going to show you how to install the KIWI design Battery Head Strap. Before we start, we need to remove the stock head strap first.

Here is the link of how to remove stock head strap. Or, you can watch the full video tutorial:
Before we start, make sure you have all the components you need: cable clips, head strap and cushion

First, install the cable clip at the same side as charging cable:

Then assemble the head strap and cushion together:

The the head strap through the hole on the Quest 2:

Cover the audio cable inside the Velcro:

Install the clips on both side and fasten the Velcro:

Use the cable clip for cable management:


Install the facial interface back:

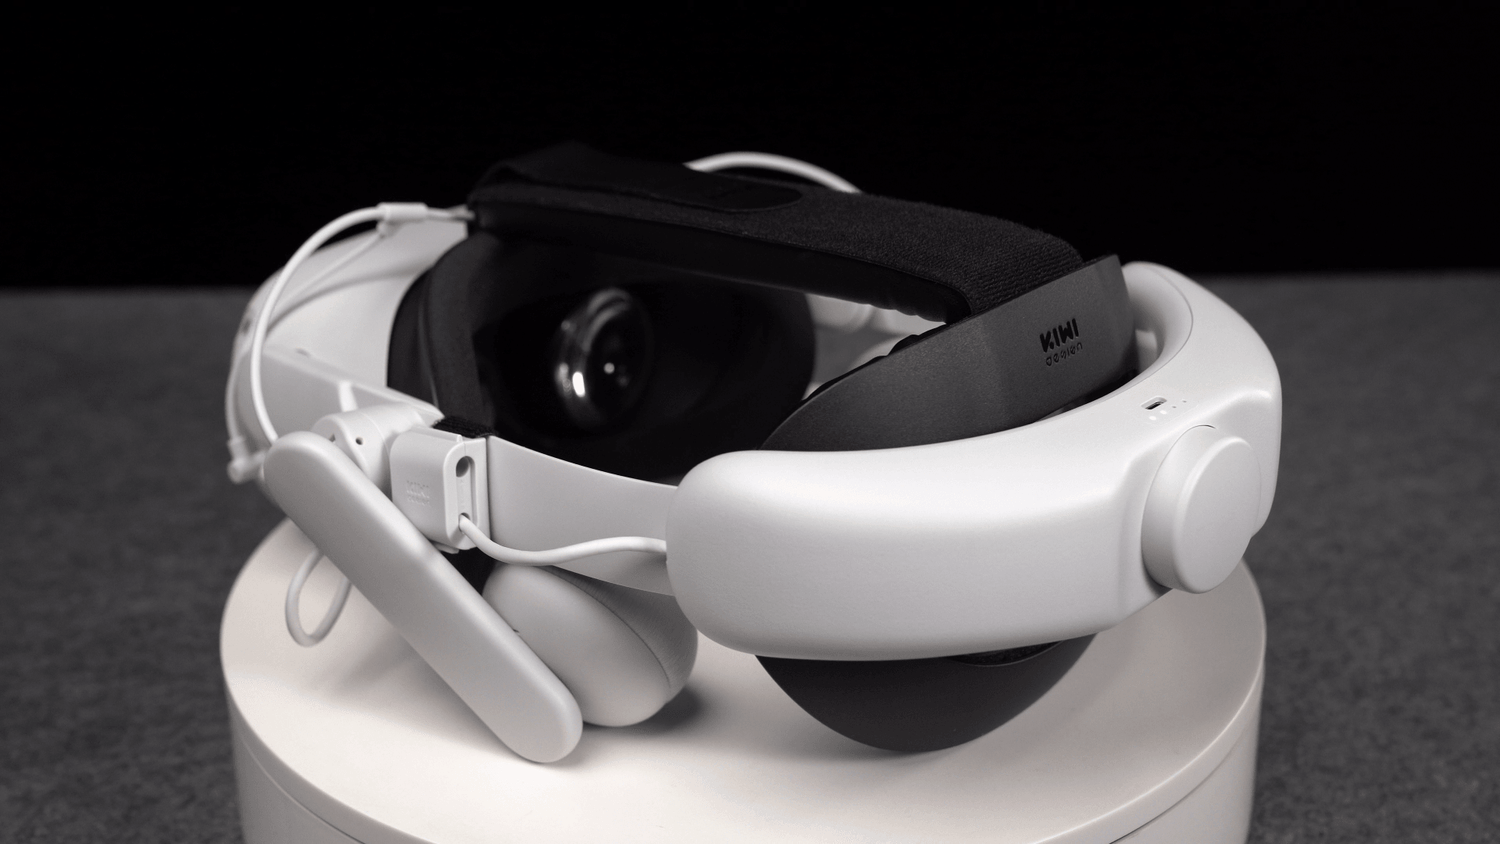
When charging, the LED indicator at back will lights up:

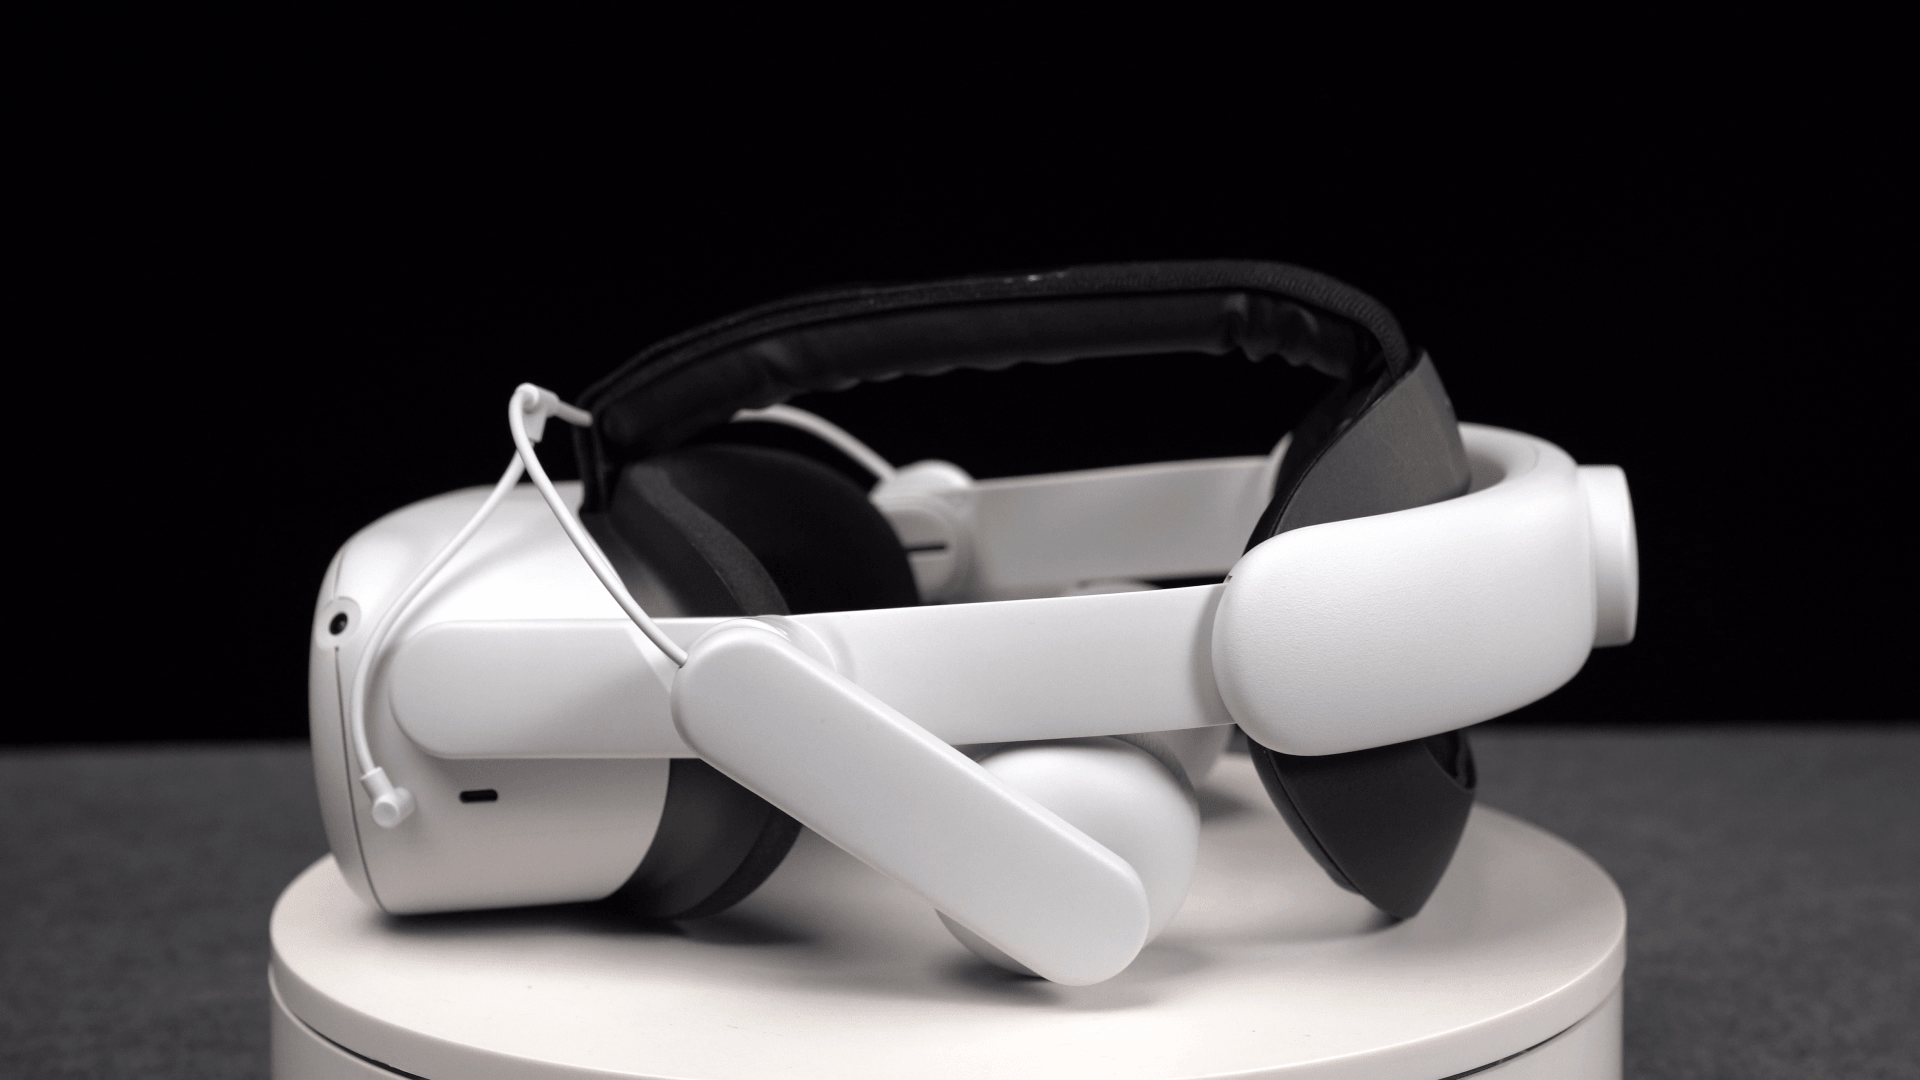
Done!




コメントを書く
全てのコメントは、掲載前にモデレートされます
このサイトはhCaptchaによって保護されており、hCaptchaプライバシーポリシーおよび利用規約が適用されます。